Meta Description: Can we fix 2026 laptops at home? Explore DIY repair trends, modular hardware, limitations, tools, and future of laptop repairability.
Future of DIY Repairs: Can We Fix 2026 Laptops?
Look, I’ve seen this shift happening for years now—laptops are getting thinner, faster, and more powerful… but also more closed off.
Here is the real talk about why your repair options are shrinking: modern 2026 laptops are engineered for performance density, not user serviceability.
So the real question isn’t just can we fix 2026 laptops?
It’s: how far can DIY repair realistically go before hardware becomes factory-only territory?
At fixrig.xyz, we’re breaking this down like engineers—not marketing blogs.
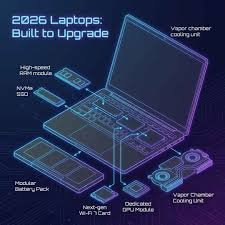
The Reality of 2026 Laptop Design Philosophy
Modern laptops follow 3 major design goals:
- Ultra-thin chassis
- High-performance integration
- Reduced user-accessible components
This means:
More soldered components
- RAM is often LPDDR (non-upgradable)
- SSDs may be partially or fully integrated
- CPUs and GPUs are rarely socket-based
Higher thermal density
- Smaller cooling chambers
- Vapor chamber reliance
- Aggressive thermal throttling management
Fewer modular parts
- USB-C everything
- Shared power + data controllers
- Integrated motherboard ecosystems
So… Can We Still Do DIY Repairs in 2026?
Yes—but with limitations.
DIY repair in 2026 is shifting into three categories:
1. External-level repairs (Easy)
- Battery replacement (select models)
- SSD replacement (some laptops)
- Keyboard replacement (modular designs)
2. Component-level repairs (Medium)
- Fan replacement
- Thermal paste replacement
- Display cable replacement
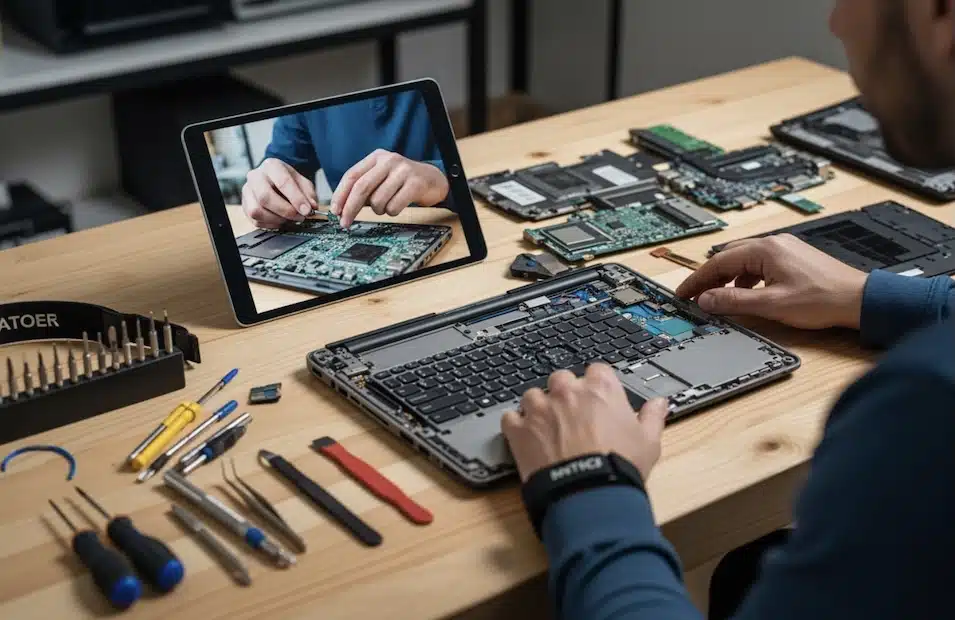
3. Board-level repairs (Advanced)
- Solder rework
- MOSFET replacement
- IC-level diagnostics
This is where most users stop—and professionals begin.
Common Symptoms That Still Allow DIY Repair
Even modern laptops show predictable failure signs:
1. Random Shutdowns
Often linked to thermal throttling or VRM instability.
2. Battery Drain Issues
Degraded lithium cells or power controller faults.
3. Overheating Under Load
Dust blockage or dried thermal compound.
4. Performance Drops
Driver issues, BIOS misconfiguration, or power limits.
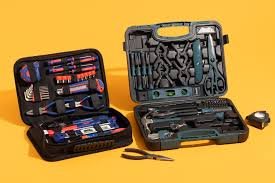
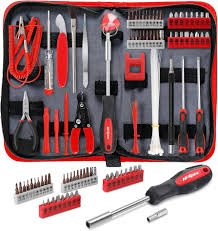
Tools Needed for Modern Laptop Repair (2026 Kit)
If you’re serious about DIY repair, your toolkit must evolve:
Basic Tools
- Precision screwdriver set
- Plastic pry tools
- Anti-static wrist strap
Intermediate Tools
- Thermal paste (high conductivity)
- USB bootable diagnostic drive
- Multimeter for voltage testing
Advanced Tools
- Soldering station
- Hot air rework station
- Thermal camera (for diagnostics)
Comparison Table: DIY Repair vs Professional Repair (2026)
| Factor | DIY Repair | Professional Repair |
|---|---|---|
| Cost | Low | High |
| Risk | Medium to High | Low |
| Skill required | Moderate to Advanced | Expert technicians |
| Warranty impact | Often voids warranty | Preserved (authorized centers) |
| Hardware access | Limited | Full board-level access |
Step-by-Step: Can You Fix a 2026 Laptop at Home?
Step 1: Identify the Real Problem
Don’t guess.
Look, I’ve seen people replace SSDs when the real issue was just a thermal shutdown.
Use:
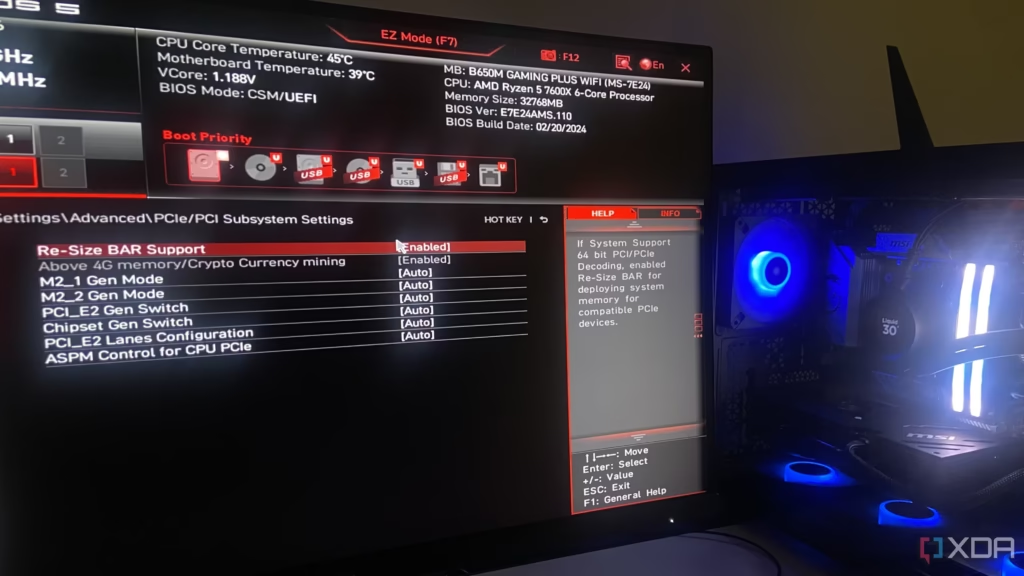
- BIOS diagnostics
- Hardware monitoring tools
- Boot behavior analysis
Step 2: Check Software vs Hardware Fault
Before opening anything:
- Update BIOS
- Update drivers
- Check system logs
If the issue persists → move to hardware diagnosis.
Step 3: External Component Inspection
Start simple:
- Battery health check
- Charger voltage test
- Port inspection (USB-C wear is common)
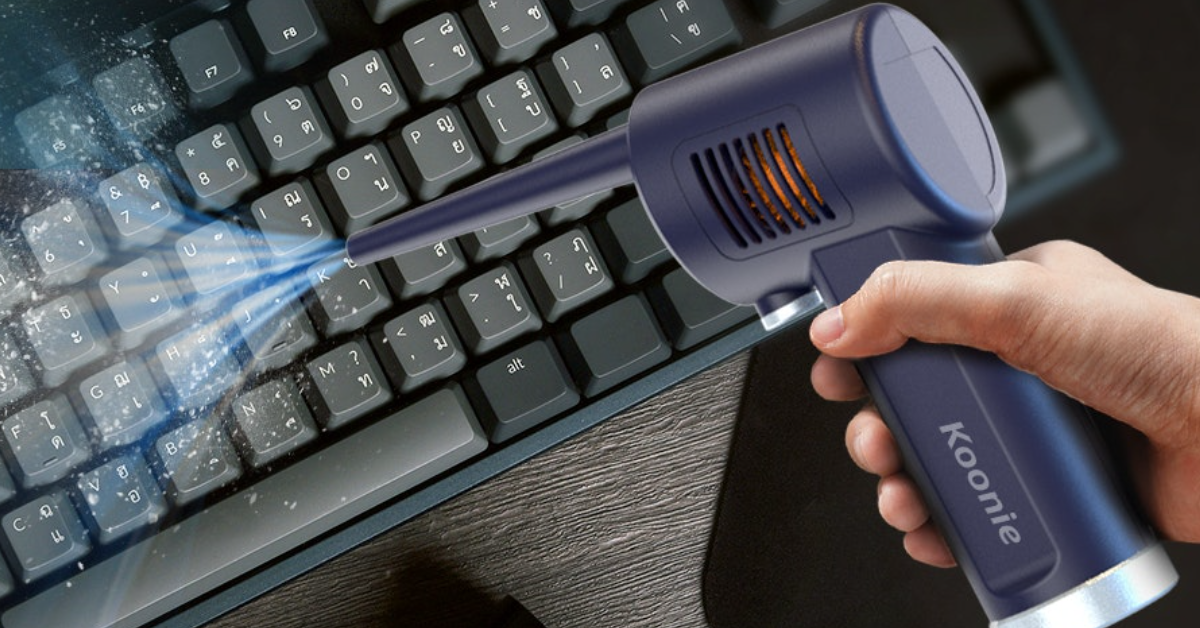
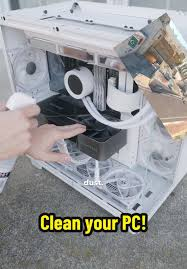
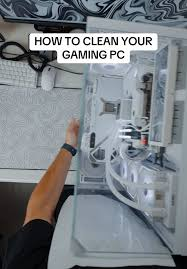
Step 4: Internal Cleaning and Thermal Service
Most common fix in 2026 laptops:
- Open bottom panel
- Clean fans
- Replace thermal paste
- Inspect airflow channels
This alone solves 40–60% of overheating issues.
Step 5: Modular Component Replacement
If your laptop supports it:
- Swap SSD
- Replace RAM (if not soldered)
- Replace cooling fans
This is still the “true DIY zone.”
Step 6: Advanced Diagnostics (Board-Level Only)
If issues persist:
- Check motherboard voltage rails
- Inspect MOSFET circuits
- Identify short circuits
At this stage, most users should stop and consult professionals.
Root Causes Behind Modern Laptop Failures
1. Thermal Design Limits
Thin laptops = restricted airflow = faster degradation.
2. Battery Chemistry Aging
Lithium-ion cells degrade faster in high-performance systems.
3. BIOS Power Management Bugs
Improper firmware updates can cause instability.
4. Voltage Instability
Power delivery issues from compact VRM designs.
5. Dust Accumulation in Micro Chambers
Even small dust buildup causes major heat spikes.
Future Trends in DIY Laptop Repair
1. Modular Laptop Movement
Companies slowly reintroducing upgradeable components.
2. AI-Based Diagnostics
Built-in system health prediction tools.
3. Tool-Free Access Designs
Magnetic panels and snap-in components.
4. Cloud-Based Repair Guides
OEM-integrated repair assistance systems.
Real Engineering Insight (Important Truth)
Here is the reality most people don’t hear:
Modern laptops are not “unrepairable”—they are repair-tier segmented.
Meaning:
- Basic users → external fixes only
- Advanced users → internal modular repairs
- Engineers → board-level diagnostics
So DIY repair is not dying…
It’s just becoming skill-tier dependent.
Final Thoughts
The future of DIY repair is not about whether we can fix 2026 laptops.
It’s about:
- What level of repair you’re trained for
- What tools you have access to
- How modular your device actually is
At fixrig.xyz, we see a clear direction:
repair is becoming more technical, not impossible.
CTA: Join the Hardware Future with fixrig.xyz
If your laptop is showing symptoms and you’re not sure whether it’s DIY-fixable or board-level damage, drop your model and issue details in the comments.
I’ll break it down like a field engineer—no guesswork, no fluff.
Because in 2026 hardware engineering… repairability is still alive—it just evolved.