Look, I’ve seen this situation a thousand times in the field—someone finishes a repair, boots the system, everything looks fine… and then two days later, random crashes start showing up.
Here is the real talk about why your rig is acting up after a repair: most hardware issues don’t fail immediately—they fail under load.
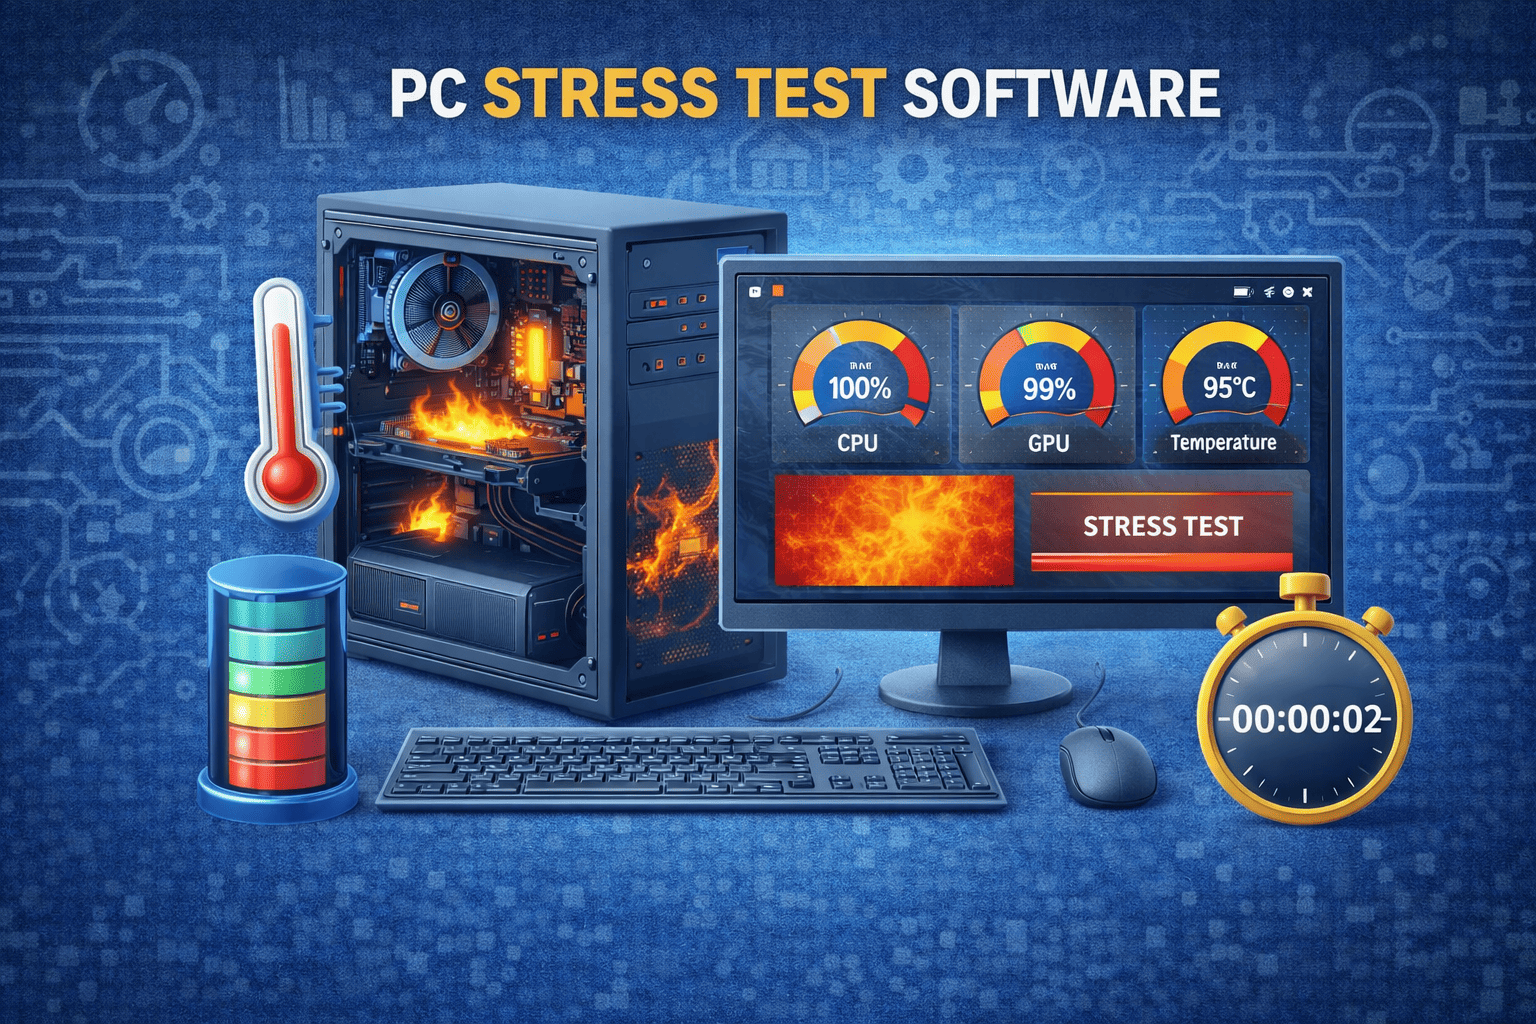
That’s exactly why stress testing exists.
At fixrig.xyz, this guide will break down the best software for stress testing your PC after a repair, along with a real technician-level workflow used in 2026 hardware diagnostics.
Why Stress Testing After Repair Is Absolutely Critical
After any hardware repair—whether it’s:
- CPU replacement
- GPU reinstallation
- RAM upgrade
- Thermal paste reapplication
- PSU swap
…the system is technically “working,” but not necessarily “stable.”
Stress testing validates:
- Thermal stability
- Power delivery consistency
- Memory integrity
- GPU load handling
- CPU boost behavior
Without it, you’re basically guessing.
Common Symptoms That Require Stress Testing
If you notice any of these after repair, stop and test immediately:
1. Random System Freezes
Often caused by unstable RAM or VRM issues.
2. Sudden FPS Drops in Games
Could indicate GPU thermal throttling or driver instability.
3. Unexpected Restarts
Usually PSU or voltage regulation problems.
4. BSOD Errors
Driver conflicts or memory instability.
5. High Idle Temperatures
Cooling or thermal paste application issues.
Best Software for Stress Testing Your PC After Repair (2026 Edition)
Here are the industry-standard tools used by technicians and engineers.
1. AIDA64 Extreme (Full System Stress Test)
AIDA64 Extreme
This is a complete hardware diagnostic suite.
What it tests:
- CPU stability
- GPU load
- RAM performance
- Sensor monitoring
Why it’s powerful:
It stresses multiple components simultaneously, simulating real-world workloads.
2. Prime95 (CPU Stability King)
Prime95
A classic tool that still dominates CPU stress testing.
What it does:
- Maximum CPU load
- FPU stress
- Heat generation testing
Tech insight:
If your CPU survives Prime95 for 30–60 minutes without errors, it’s highly stable.
3. FurMark (GPU Stress Testing)
FurMark
A brutal GPU stress tester used for thermal validation.
Tests:
- GPU core stability
- Thermal performance
- Power delivery spikes
Warning:
This tool pushes GPUs beyond normal gaming loads.
4. MemTest86 (RAM Diagnostic Tool)
MemTest86
One of the most trusted memory testing tools in the industry.
What it detects:
- Faulty RAM sticks
- Memory timing issues
- Corrupt memory sectors
Pro tip:
Run at least 2–4 full passes for accurate results.
5. OCCT (All-in-One Stress Testing Suite)
OCCT
A modern tool that combines CPU, GPU, PSU, and RAM testing.
Features:
- Real-time monitoring
- Power supply stress mode
- Error logging system
Comparison Table: Stress Testing Tools
| Tool | Component | Strength | Difficulty |
|---|---|---|---|
| AIDA64 | Full system | Advanced diagnostics | Medium |
| Prime95 | CPU | Extreme load testing | Medium |
| FurMark | GPU | Thermal stress testing | Easy |
| MemTest86 | RAM | Deep memory testing | Medium |
| OCCT | All-in-one | Balanced testing suite | Easy |
Step-by-Step Stress Testing Guide After Repair
Step 1: Baseline Monitoring First
Before any stress test:
- Install monitoring tools
- Check idle temperatures
- Verify BIOS settings
Look, I’ve seen people skip this step and misdiagnose perfectly fine hardware.
Step 2: Start with CPU Stress Test
Run Prime95 or AIDA64 CPU test:
- Duration: 30–60 minutes
- Monitor temperature spikes
- Watch for throttling
If temperatures exceed safe limits, stop immediately.
Step 3: Test GPU Stability
Run FurMark:
- Monitor GPU temperature
- Watch fan curves
- Check for artifacts
If you see visual glitches, that’s a hardware warning.
Step 4: Run Memory Diagnostics
Use MemTest86:
- Boot from USB
- Run multiple passes
- Look for red error lines
Even a single error = unstable RAM.
Step 5: Full System Stress Test
Now combine everything using OCCT:
- CPU + GPU load together
- PSU stability test
- Watch voltage fluctuations
This simulates real gaming and rendering workloads.
Step 6: Long-Term Stability Check
After initial tests:
- Use system normally for 24–48 hours
- Play games
- Run productivity tasks
If no crashes occur, system is stable.
Root Causes Found During Stress Testing
1. Improper Thermal Paste Application
Common after CPU or GPU reinstallation.
2. Loose Power Connectors
Even slightly loose GPU cables can cause instability.
3. BIOS Misconfiguration
Incorrect voltage or RAM settings.
4. Driver Conflicts
Especially after GPU or chipset changes.
5. Weak PSU Performance
Voltage drops under heavy load.
Advanced Technician Tips (2026 Standards)
1. Always Monitor Voltage Stability
Tools like HWInfo help track real-time voltage drops.
2. Watch Thermal Throttling Behavior
If CPU drops frequency under load, cooling is insufficient.
3. Don’t Ignore Small Errors
Even a single crash during stress test = warning sign.
Real Talk: Why Stress Testing Saves You Money
Skipping stress testing is like repairing a car and never test-driving it.
Without it:
- Hidden hardware faults remain
- System crashes appear later
- Data loss risk increases
With it:
- Stable system confirmation
- Predictable performance
- Long-term reliability
Final Thoughts
The best software for stress testing your PC after a repair isn’t just one tool—it’s a combination of CPU, GPU, RAM, and full-system diagnostics.
If you follow this workflow:
- AIDA64 or OCCT for system
- Prime95 for CPU
- FurMark for GPU
- MemTest86 for RAM
…you essentially replicate a professional hardware validation lab.
CTA: Join the fixrig.xyz Hardware Lab
At fixrig.xyz, we break down real-world hardware diagnostics like this every day.
If your PC is still unstable after repair, drop your specs in the comments—CPU, GPU, RAM, PSU—and I’ll help you diagnose it like a field engineer.
Because in hardware troubleshooting… testing is not optional, it’s the final repair step.
Leave a Reply