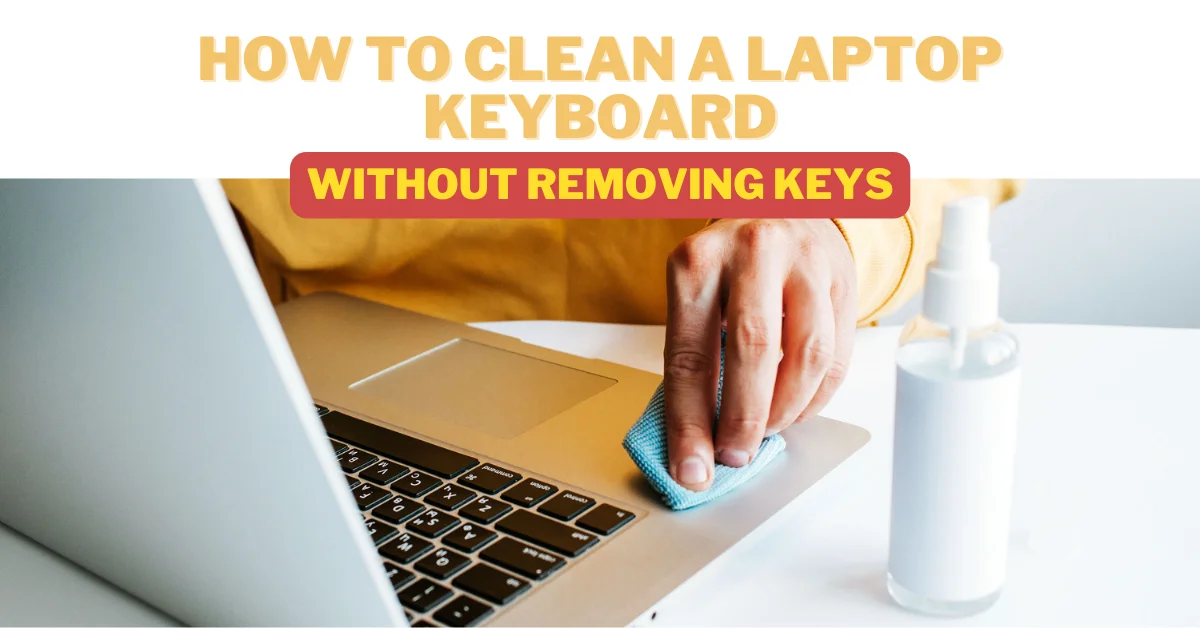
H1: How to clean a liquid spill on a laptop keyboard and save your device from permanent damage
A liquid spill on a laptop keyboard is one of those moments that instantly triggers panic.
And look, I’ve seen this error a thousand times in real-world repair situations—coffee spills during work, water accidents during gaming, even full soda disasters in office setups. Most people react the wrong way: they turn the laptop back on too quickly or start pressing keys to “test it.”
Here is the real talk about why your rig is acting up: liquid damage is not about the spill itself—it’s about what happens electrically inside the system after the spill.
In modern 2026 laptops (Dell, HP, Lenovo, ASUS ultrabooks), even small liquid exposure can cause short circuits in keyboard matrix layers, trackpad controllers, and motherboard lines.
Let’s break it down step-by-step like a senior IT hardware engineer.
Why liquid spills are dangerous for laptops
Liquid doesn’t just sit on the surface—it spreads internally through:
- Keyboard membrane layers
- PCB traces under keyboard
- Motherboard power lines
- Battery and charging circuits
Even “small spills” can cause delayed damage hours or days later.
Common symptoms after a liquid spill
Immediate symptoms
- Keyboard keys stop responding
- Random key inputs
- Laptop shuts down suddenly
- Burning smell (serious warning)
Delayed symptoms
- Laptop won’t turn on next day
- Keyboard ghost typing
- Trackpad malfunction
- Charging issues appear later
Advanced 2026 symptoms
- Smart power shutdown protection triggers
- BIOS keyboard detection failure
- AI power management lock mode
First 60 seconds matter (critical emergency response)
If spill just happened:
DO THIS IMMEDIATELY:
- Power off laptop instantly
- Unplug charger
- Disconnect external devices
- Flip laptop upside down (keyboard facing down)
DO NOT:
- Don’t press keys
- Don’t try to “check if it works”
- Don’t turn it back on
💡 Tech Mentor Tip: I’ve seen people make liquid damage 10x worse just by trying to “save their file” before shutting down. That delay kills motherbord components silently.
Tools checklist for safe cleaning
Before opening anything:
- Microfiber cloth
- Isopropyl alcohol (90%+ recommended)
- Plastic pry tools
- Screwdriver set
- Paper towels
- Small container for screws
- Anti-static wrist strap (recommended)
Comparison: DIY cleaning vs professional repair
| Method | Risk Level | Effectiveness | Recommendation |
|---|---|---|---|
| Surface drying only | High | Low | Temporary |
| Full disassembly cleaning | Medium | High | Recommended |
| Ultrasonic cleaning | Low | Very high | Professional |
| Ignoring spill | Extreme | Failure | Not an option |
Step-by-step guide: How to clean a liquid spill on a laptop keyboard
Now let’s move step-by-step like a professional repair technician.
Step 1: Power off immediately
- Hold power button for 10–15 seconds
- Disconnect charger
- Remove battery if possible
This stops electrical flow instantly.
Step 2: Flip and drain
Turn laptop upside down in “tent position”:
- Keyboard facing down
- Let gravity pull liquid out
Leave it for at least 15–30 minutes.
Step 3: Remove external moisture
Use microfiber cloth:
- Dab (don’t rub) surface
- Absorb visible liquid
Avoid pushing liquid deeper into keyboard.
Step 4: Open back panel (if comfortable)
If you’re a beginner, proceed carefully:
- Unscrew bottom cover
- Remove battery connector
- Locate keyboard and motherboard area
💡 Tech Mentor Tip: Here is the real talk—most long-term damage happens inside, not on the keyboard surface.
Step 5: Clean affected area with isopropyl alcohol
- Apply alcohol to cotton swab or cloth
- Clean keyboard underside
- Clean visible PCB areas if spill reached inside
Alcohol evaporates fast and reduces corrosion risk.
Step 6: Drying process (VERY IMPORTANT)
Let laptop dry:
- Minimum 24–48 hours
- Place in dry, ventilated area
- Use silica gel packs if available
Never use hair dryer (heat can damage circuits).
Step 7: Inspect for corrosion
Check for:
- White residue
- Sticky liquid traces
- Rust-like marks
If corrosion exists → deeper cleaning required.
Step 8: Reassemble and test safely
Before full power-on:
- Reconnect battery
- Plug charger only
- Boot carefully
Watch for:
- Keyboard response
- Boot stability
- Charging behavior
When liquid damage becomes serious
You may need professional repair if:
- Laptop doesn’t power on
- Burn smell from motherboard
- Keys permanently dead
- Random shutdowns continue
- Charging IC is damaged
At this stage, motherboard-level repair is required.
Common mistakes users make (and regret later)
- Turning laptop on immediately
- Using rice (completely ineffective)
- Not removing battery
- Ignoring internal moisture
- Continuing to use keyboard after spill
Look, I’ve seen people try to dry laptops with a hairdryer and end up damaging BIOS chips due to heat stress.
Real Tech Mentor insight
Here is the truth most people don’t hear: liquid damage is a timing game.
The faster you shut down and dry the system, the higher your survival rate.
Even 10–15 minutes delay can change:
- keyboard repair → motherboard replacement
And yes, I’ve seen users blame “drivers” or even type “motherbord is dead” when the real issue was just leftover liquid under the keyboard membrane.
Prevention tips for 2026 laptop users
- Use spill-resistant keyboard covers
- Keep drinks away from workspace
- Elevate laptop during eating/drinking
- Clean keyboard regularly
- Use external keyboard for heavy work setups
Final CTA: Act fast or lose your laptop
If your laptop just experienced a liquid spill, don’t wait and don’t test it repeatedly.
Now you know exactly how to clean a liquid spill on a laptop keyboard using professional 2026 repair techniques that minimize permanent damage.
For more deep hardware repair guides, emergency troubleshooting steps, and DIY fixes, visit fixrig.xyz—your ultimate hub for hardware enthusiasts and real-world repair knowledge.
Got a liquid spill situation right now? Drop your issue in the comments or ask the fixrig.xyz community. Someone has already recovered a similar case successfully.
Because in liquid damage recovery, speed is the difference between a quick fix and a dead motherboard.
Leave a Reply