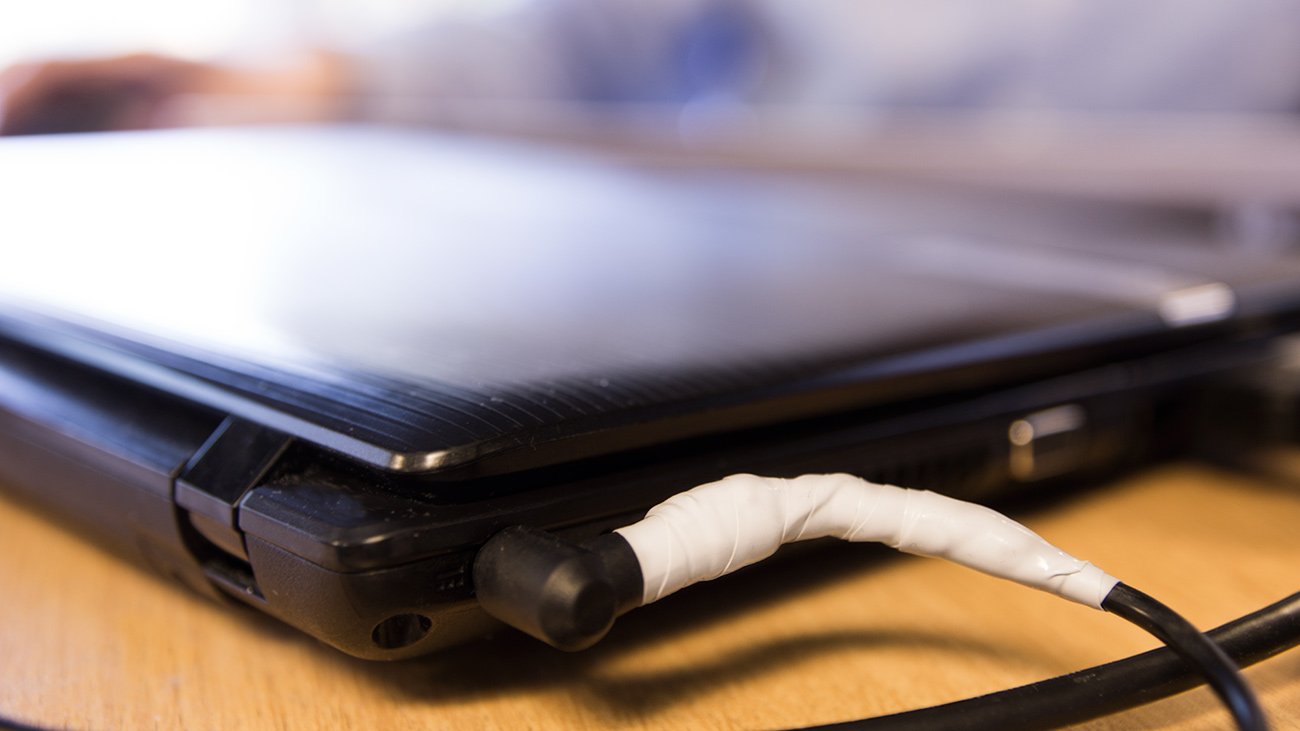
H1: How to repair a frayed laptop charger cable safely without risking shock, fire, or device damage
A frayed laptop charger cable is one of those problems that looks “small” but can turn into a serious safety hazard if ignored.
And look, I’ve seen this issue a thousand times in real-world repair scenarios—especially with heavy laptop users, remote workers, and gamers who constantly bend their charging cables at the same spot.
Here is the real talk about why your rig is acting up: a frayed charger cable doesn’t just stop charging—it can cause voltage instability, motherboard stress, and even electrical short circuits if handled carelessly.
So let’s break down how to repair a frayed laptop charger cable safely using modern 2026 hardware repair standards.
Why a frayed charger cable is dangerous (don’t ignore this)
Before we fix anything, understand the risk:
- Exposed copper wires can cause short circuits
- Heat buildup can melt insulation further
- Voltage drops can damage battery health
- Spark risk if metal contacts touch
In modern laptops (Dell, HP, Lenovo, ASUS 2026 models), chargers are smart regulated power supplies. Even a small cable break can confuse power delivery systems.
Common symptoms of a damaged charger cable
Physical signs
- Visible wire exposure
- Rubber insulation peeling
- Cable bending at one point repeatedly
- Loose charging connector
Functional signs
- Charging only when cable is held at angle
- Random disconnect/reconnect sound
- Slow charging warnings
- Laptop running on battery even when plugged in
Advanced 2026 symptoms
- Smart power adapter “not recognized” error
- BIOS power instability warnings
- Battery health dropping rapidly
Root causes of charger cable fraying
1. Constant bending stress
Most damage happens near the connector head.
2. Poor cable quality
Cheap adapters use thin insulation layers.
3. Heat exposure
High load charging increases internal wire fatigue.
4. Improper cable storage
Wrapping too tightly causes internal wire breakage.
Tools checklist for safe repair
Before you even touch the cable:
Essential tools
- Electrical insulation tape (high quality)
- Heat shrink tubing (recommended)
- Lighter or heat gun
- Wire cutter/stripper
- Multimeter (optional but useful)
- Isopropyl alcohol (cleaning)
- Safety gloves
💡 Tech Mentor Tip: I’ve seen people try to fix live charger cables with bare hands. That’s not repair—that’s gambling with voltage.
Comparison: Temporary fix vs proper repair
| Method | Safety Level | Durability | Recommendation |
|---|---|---|---|
| Electrical tape only | Medium | Low | Temporary use |
| Heat shrink tubing | High | High | Recommended fix |
| Solder + insulation | Very high | Very high | Professional fix |
| DIY twisting wires | Low | Very low | Not recommended |
Step-by-step guide: How to repair a frayed laptop charger cable safely
Now let’s go step-by-step like a senior hardware engineer.
Step 1: Unplug everything completely
- Remove charger from laptop
- Disconnect from wall socket
- Wait 2–3 minutes
This ensures no residual voltage is present.
Step 2: Inspect the damaged area
Identify:
- Exact frayed point
- Inner copper exposure level
- Multiple weak points
If damage is near adapter head → be extra careful.
Step 3: Cut damaged section (if necessary)
If fraying is severe:
- Cut clean section of cable
- Ensure both ends are healthy wire
💡 Tech Mentor Tip: Don’t try to “wrap over disaster”—remove the problem section instead.
Step 4: Strip insulation carefully
Expose small portion of internal wire:
- Do not cut copper strands
- Keep equal length on both sides
This step decides repair quality.
Step 5: Join wires properly
You have two safe options:
Option A: Twist + solder (best method)
- Twist matching wires
- Apply solder for strong connection
Option B: Twist only (temporary)
- Twist tightly
- Not recommended for long-term use
Step 6: Insulate the connection
Now protect the repaired section:
Best method:
- Slide heat shrink tubing over joint
- Apply heat evenly
Alternative:
- Wrap electrical insulation tape tightly
- Layer multiple times
Make sure no copper is visible.
Step 7: Reinforce stress point
Most charger damage happens again at same spot.
Add reinforcement:
- Extra tape layer
- Flexible rubber sleeve
- Cable protector spring
Step 8: Test charging safely
- Plug into wall socket first
- Then connect to laptop
- Check for stability
Watch for:
- Charging icon stability
- No flickering connection
- No heat buildup
When NOT to repair a charger cable
Stop immediately if:
- Adapter is cracked or burning
- Internal smell of burnt electronics
- Multiple frayed areas
- Spark or smoke previously observed
In these cases, replacement is safer.
Software vs hardware confusion (yes it happens)
Sometimes users think:
- “Battery issue”
- “BIOS problem”
- “Driver bug”
But here’s reality:
➡ If charger cable is broken, no software fix will help.
Even Windows power settings or BIOS tweaks cannot fix physical voltage interruption.
Real Tech Mentor insight
Here is the truth most people miss: charger cables don’t suddenly fail—they slowly degrade.
You’ll notice:
- Slight bending resistance first
- Then intermittent charging
- Then full failure
And yes, I’ve seen users blame motherboard issues (or even type “motherbord” during frustration 😄) when the charger cable was the real culprit.
Safety warnings (very important in 2026 standards)
- Never repair while plugged in
- Avoid touching exposed wires
- Don’t use damaged chargers on expensive laptops
- Replace if overheating occurs
- Use certified chargers for high-wattage laptops
Electrical safety is not optional anymore.
How to prevent charger cable damage in future
- Avoid tight cable wrapping
- Use velcro straps instead of knots
- Keep charger elevated while using
- Don’t bend near connector head
- Use cable protectors
Small habits extend charger life significantly.
Final CTA: Fix smart, not risky
If your charger cable is frayed, don’t ignore it or keep using it until it completely fails.
Now you know exactly how to repair a frayed laptop charger cable safely using proper 2026 repair techniques and real-world engineering practices.
For more deep hardware repair guides, troubleshooting tutorials, and DIY fixes, visit fixrig.xyz—your ultimate hub for hardware enthusiasts and system fixers.
Got a tricky charger or power issue? Drop your question in the comments or join the fixrig.xyz community. Someone has already fixed your exact problem before.
Because in modern hardware repair, safety and precision always come before speed.
Leave a Reply