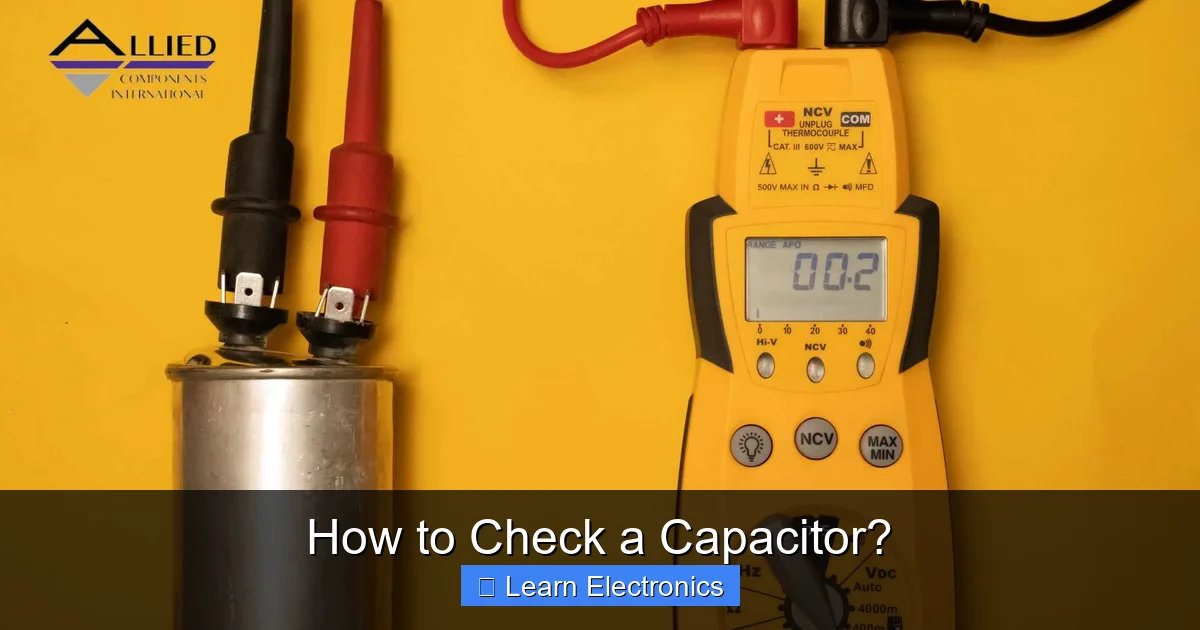
If your PC is acting unstable, randomly shutting down, or refusing to boot properly, there’s a silent killer you might be ignoring—capacitor leakage on your motherboard.
Look, I’ve seen this issue a thousand times, especially in older or heavily used systems. And here is the real talk about why your rig is acting up: capacitors are like tiny energy storage tanks, and when they start leaking or bulging, your entire motherboard becomes unstable.
In this deep technical guide from fixrig.xyz, I’ll show you exactly how to check for motherboard capacitor leakage manually—no advanced lab tools required, just a sharp eye and proper technique.
What is a Motherboard Capacitor?
Before diagnosing failure, you need to understand what you’re looking at.
Capacitors are small cylindrical components on your motherboard responsible for:
- Voltage regulation
- Power smoothing
- Preventing electrical spikes
- Stabilizing CPU and RAM performance
When they fail, your system becomes unpredictable.
What is Capacitor Leakage?
Capacitor leakage happens when internal electrolyte fluid escapes due to:
- Heat damage
- Aging components
- Power surges
- Manufacturing defects
This leads to:
- Bulging tops
- Rust-like residue
- Electrical instability
- Complete system failure over time
Common Symptoms of Capacitor Failure
Early Warning Signs
- Random system restarts
- PC not powering on consistently
- Freezing under load
- BIOS instability
- Sudden performance drops
- Burnt smell near motherboard area
If you’re seeing 2–3 of these symptoms, capacitor inspection is critical.
Tools You Need (Manual Inspection Setup)
Good news: you don’t need expensive tools.
Basic Checklist
- Bright flashlight
- Magnifying glass (optional but helpful)
- Screwdriver set
- Clean workspace
- Anti-static precaution (recommended)
That’s it. This is purely a visual diagnosis proccess.
Quick Comparison: Healthy vs Faulty Capacitor Signs
| Condition | Healthy Capacitor | Faulty Capacitor |
|---|---|---|
| Top shape | Flat | Bulging or swollen |
| Bottom | Clean | Brown or crusty leakage |
| Surface | Smooth | Rust-like residue |
| System behavior | Stable | Random crashes/restarts |
Step-by-Step: How to Check for Motherboard Capacitor Leakage Manually
Now let’s get into the real technical inspection process.
Step 1: Power Down and Open the System
- Shut down PC completely
- Unplug power cable
- Press power button for 10 seconds (discharge)
- Open side panel of case
Never inspect live systems—safety first.
Step 2: Locate the Motherboard Capacitors
Capacitors are usually located near:
- CPU socket
- RAM slots
- VRM (Voltage Regulation Module) area
- Power input section
They look like small cylindrical barrels.
Step 3: Perform Visual Inspection
Now use your flashlight.
Check each capacitor carefully:
Healthy Signs:
- Flat top surface
- No deformation
- Clean metal casing
Warning Signs:
- Bulging top (most common failure sign)
- Slight tilt or swelling
- Visible fluid leakage
- Rust or brown crust around base
Look, even a slight bulge means failure has already started.
Step 4: Check for Electrolyte Leakage
This is the most critical step.
Look at the base of capacitors:
- Sticky residue
- Dark brown or orange stains
- Dry crust formation
This is leaked electrolyte—and it’s bad news.
Step 5: Smell Test (Yes, Seriously)
Carefully bring your nose near the board (don’t touch).
- Burnt or chemical smell = capacitor failure
- Normal smell = likely safe
This is a real-world technician trick, not something you’ll find in basic guides.
Step 6: Check Surrounding Components
Capacitor failure often affects nearby parts:
- VRM chips
- MOSFETs
- PCB discoloration
If surrounding area is darkened, heat damage is likely.
Step 7: Test System Stability (After Visual Check)
If capacitors look okay but you’re unsure:
- Boot system
- Run light workload
- Monitor stability
If system crashes under light load, hidden capacitor damage may exist.
Why Capacitors Fail in 2026 Systems
Even modern boards are not immune.
Common reasons:
- High thermal throttling over time
- Cheap capacitor quality in budget boards
- Power supply instability (voltage spikes)
- Dust causing heat buildup
- Long-term continuous usage
Even top systems degrade if cooling is poor.
Repair vs Replacement Decision Table
| Condition | Recommended Action |
|---|---|
| Slight bulge, no leakage | Monitor closely |
| Multiple bulging capacitors | Repair or replace caps |
| Visible leakage | Replace motherboard |
| System instability only | Diagnose PSU too |
Can You Repair Capacitors?
Yes—but carefully.
- Requires soldering skills
- Must match exact capacitor rating
- Incorrect replacement can damage board
For most users, replacement is safer than repair.
Pro Tips from a Hardware Expert
- Always use high-quality PSU (prevents capacitor stress)
- Keep system well-ventilated
- Avoid overheating at all costs
- Inspect motherboard every 6–12 months in older systems
- Don’t ignore small stability issues—they grow fast
And here’s the truth: capacitors rarely fail suddenly—they warn you first.
Final Thoughts
Learning how to check for motherboard capacitor leakage manually is one of the most important skills in hardware troubleshooting.
It saves money, prevents data loss, and extends system life.
At fixrig.xyz, we believe in teaching real-world hardware skills—not just theory—so you can confidently repair and understand your own system.
Call to Action
Now it’s your turn.
Open your system, inspect carefully, and catch problems before they destroy your motherboard.
If you find something unusual or you’re unsure about what you’re seeing, ask your question on fixrig.xyz—we’ll help you diagnose it like a true hardware expert.
Leave a Reply