Look, I’ve seen this setup confusion a thousand times—someone buys an extra monitor for productivity, plugs it into their laptop… and then realizes there’s only one HDMI port.
Panic starts.
Here is the real talk about why your rig is acting up: laptops are not designed like desktops. You can’t just “split” HDMI and expect two independent displays. That’s not how signal architecture works.
But don’t worry—in this expert guide from fixrig.xyz, I’ll show you exactly how to set up a dual monitor setup on a laptop with one HDMI, using real hardware solutions, modern 2026 standards, and zero guesswork.

Why One HDMI Port Isn’t Enough (The Technical Reality)
HDMI Splitter Myth (Big Mistake)
A lot of users try this:
- Buy an HDMI splitter
- Expect two separate screens
What actually happens?
- Both monitors show the SAME display (mirroring)
Because:
- HDMI carries a single video signal
- It cannot output two independent streams
If your doing this—stop. It won’t work for extended displays.
Common Symptoms Users Face
Only One External Monitor Works
Second screen not detected at all
Both Screens Show Same Content
Mirror mode instead of extend
Monitor Not Detected
Driver or port limitation
Lag or Low Resolution
Wrong adapter or bandwidth limitation
Tools & Hardware You May Need
To properly set up dual monitors, prepare:
- HDMI cable
- USB to HDMI adapter (DisplayLink recommended)
- USB-C hub (if supported)
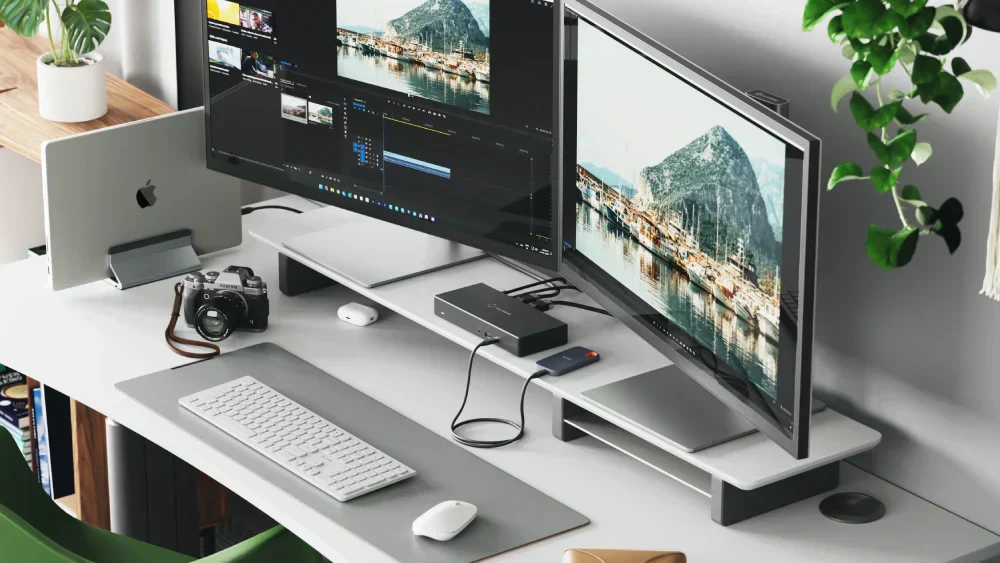
- Docking station (optional but best solution)
- Updated graphics drivers
Pro tip: Always check your laptop’s GPU capabilities before buying adapters.
Comparison Table: Best Ways to Add a Second Monitor
| Method | Cost | Performance | Ease | Best For |
|---|---|---|---|---|
| HDMI Splitter | Low | Poor | Easy | Mirroring only |
| USB to HDMI Adapter | Medium | Good | Easy | Most users |
| USB-C Hub (Alt Mode) | Medium | Excellent | Easy | Modern laptops |
| Docking Station | High | Best | Very Easy | Professionals |
Step-by-Step: How to Set Up Dual Monitors on a Laptop with One HDMI
Step 1: Check Your Laptop Ports
Look for:
- HDMI
- USB-C (with DisplayPort Alt Mode)
- USB 3.0 ports
This determines your available options.
Step 2: Choose the Right Method
Option A: USB to HDMI Adapter (Most Reliable)
- Plug adapter into USB port
- Install DisplayLink drivers
- Connect second monitor
This creates a virtual GPU output.
Option B: USB-C Hub (Best for Modern Laptops)
If your laptop supports it:
- Connect USB-C hub
- Use HDMI/DisplayPort outputs
You can run multiple monitors easily.
Option C: Docking Station (Pro Setup)
- Connect dock to laptop
- Attach multiple monitors
Best for remote workers and office setups.
Step 3: Install Required Drivers
This is where most users mess up.
- Install DisplayLink drivers (for USB adapters)
- Update GPU drivers (Intel/AMD/NVIDIA)
Without proper drivers, your system won’t detect displays correctly.
Step 4: Configure Display Settings in Windows 11
- Right-click desktop → Display Settings
- Click Detect
- Select Extend these displays
Arrange monitors based on your setup.
Step 5: Adjust Resolution & Refresh Rate
- Set native resolution for each monitor
- Adjust scaling if needed
Avoid mismatched settings—it causes lag and blurry output.
Advanced Optimization (2026 Setup Standards)
GPU Load Management
Multiple displays increase GPU usage.
- Close unnecessary apps
- Monitor GPU usage
Avoid Thermal Throttling
Laptops can overheat with dual displays.
- Use cooling pad
- Ensure airflow
Thermal throttling reduces performance and display smoothness.
Power Settings Optimization
- Set power mode to Balanced or High Performance
- Avoid aggressive power saving
Troubleshooting Dual Monitor Issues
Problem: Second Monitor Not Detected
Cause: Missing drivers
Fix: Install DisplayLink or update GPU drivers
Problem: Only Mirror Mode Available
Cause: HDMI splitter used
Fix: Use USB adapter or dock
Problem: Laggy Display
Cause: USB bandwidth limitation
Fix: Use USB 3.0 or USB-C
Problem: Random Disconnects
Cause: Power instability or cable issue
Fix: Replace cable or use powered hub
BIOS & Hardware Considerations
Yes—BIOS matters here too.
- Ensure integrated GPU is enabled
- Check display settings in BIOS
Some systems disable multi-display support at firmware level.
Common Mistakes to Avoid
Using Cheap Adapters
Low-quality adapters = poor signal + lag
Ignoring Driver Installation
Drivers are essential for multi-display support
Overloading USB Ports
Too many devices reduce bandwidth
Not Checking Laptop Specs
Not all laptops support multiple external displays
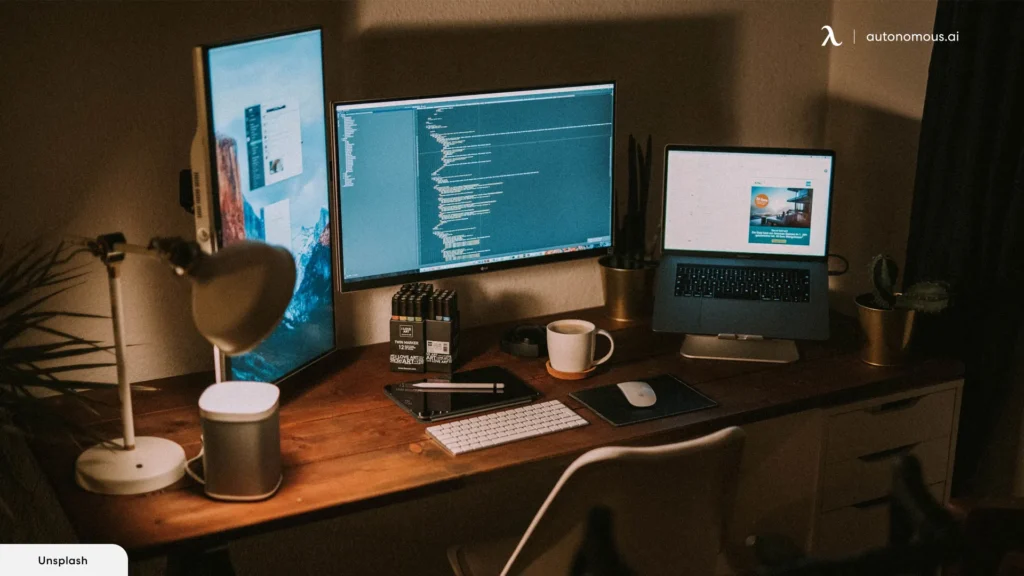
Real-World Setup Example
Let’s say you have:
- 1 HDMI port
- 2 monitors
Best setup:
- Monitor 1 → HDMI
- Monitor 2 → USB to HDMI adapter
Configure in Windows → Extend display
Done.
Pro Tips from a Hardware Engineer
- Always prefer wired connections over wireless display
- Use high-quality cables
- Keep drivers updated regularly
- Invest in a docking station if you work daily on multi-monitor setup
And here’s something most guides won’t tell you:
Your laptop’s internal GPU bandwidth is the real bottleneck—not just the ports.
When You Need a Hardware Upgrade
Upgrade if:
- Laptop doesn’t support multiple displays
- GPU is too weak
- Ports are outdated
Sometimes, no software fix can overcome hardware limitations.
Final Thoughts: Work Smarter, Not Harder
Setting up a dual monitor setup on a laptop with one HDMI isn’t complicated—but it does require the right approach.
Forget splitters.
Focus on proper signal expansion using adapters or docks.
Once done right, your productivity can literally double.
CTA: Upgrade Your Setup with fixrig.xyz
At fixrig.xyz, we help you turn basic setups into pro-level workstations.
Still stuck with your dual monitor setup? Not sure which adapter to buy or why your screens aren’t working?
Drop your laptop model and setup in the comments—and let’s fix your rig step-by-step.
Because your workspace should empower you… not limit you.
Leave a Reply