H1: Step-by-step guide to replacing laptop thermal paste for beginners and fixing overheating like a pro
If your laptop is heating up like a mini heater, fans are constantly screaming, or performance drops during simple tasks, then your thermal paste has probably given up.
And look, I’ve seen this situation a thousand times in gaming laptops and remote work machines—people think their CPU or GPU is dying, but in reality it’s just dried-out thermal paste causing thermal throttling.
Here is the real talk about why your rig is acting up: thermal paste is one of the most underrated but critical components in your cooling system.
Let’s break down a safe, beginner-friendly, step-by-step guide to replacing laptop thermal paste using modern 2026 repair standards.
What is Thermal Paste and Why It Matters?
Thermal paste (also called thermal compound) is a heat-conductive material placed between:
- CPU and heatsink
- GPU and cooling plate
Its job is simple:
➡ Fill microscopic gaps
➡ Improve heat transfer
➡ Prevent overheating
Without it, your processor literally overheats within minutes.
Symptoms of Dried or Failed Thermal Paste
Before opening your laptop, check these signs:
Performance Symptoms
- Sudden FPS drops while gaming
- Lag during multitasking
- System slowing down under load
Thermal Symptoms
- CPU temperatures hitting 90–100°C
- Fans running at maximum speed constantly
- Laptop body becoming extremely hot
Advanced 2026 Symptoms
- AI-based thermal throttling warnings
- BIOS performance reduction mode activated
- GPU downclocking automatically
Why Thermal Paste Deteriorates Over Time
Thermal paste doesn’t last forever.
1. Heat Cycling
Repeated heating and cooling dries it out.
2. Cheap Factory Paste
Budget laptops use low-quality compound.
3. Dust Blockage
Poor airflow increases internal temperatures.
4. Long Usage Hours
Remote workers and gamers stress systems daily.
Tools Checklist for Beginners
Before starting, prepare everything properly:
Essential Tools
- High-quality thermal paste (Arctic / Noctua level recommended)
- Precision screwdriver set
- Plastic pry tool
- Isopropyl alcohol (90%+)
- Microfiber cloth
- Anti-static wrist strap
- Small container for screws
💡 Tech Mentor Tip: I’ve seen people lose screws inside laptops and blame “hardware failure.” It was just poor organization.
Step-by-Step Guide to Replacing Laptop Thermal Paste
Now let’s go step-by-step like a professional hardware engineer.
Step 1: Power Off and Disconnect Everything
- Shut down laptop completely
- Remove charger
- Hold power button for 10–15 seconds
This ensures no residual electricity remains.
Step 2: Remove Laptop Back Panel
Use correct screwdriver size.
Be careful:
- Do not force screws
- Some screws may be hidden under rubber feet
Look, I’ve seen beginners strip screw heads because they rushed this step.
Step 3: Disconnect Battery (Very Important)
Always disconnect internal battery before touching hardware.
This prevents:
- Short circuits
- Motherboard damage
- Voltage spikes
Step 4: Locate Cooling System
You will see:
- Heat pipes
- Fan assembly
- CPU/GPU block
This is your target area.
Step 5: Remove Cooling Assembly Carefully
Unscrew in a diagonal pattern:
- Top left
- Bottom right
- Top right
- Bottom left
This prevents pressure imbalance.
Step 6: Clean Old Thermal Paste
Use isopropyl alcohol + microfiber cloth.
Clean both:
- CPU surface
- Heatsink base
Old paste may look:
- Cracked
- Dry
- Burnt
That’s completely normal.
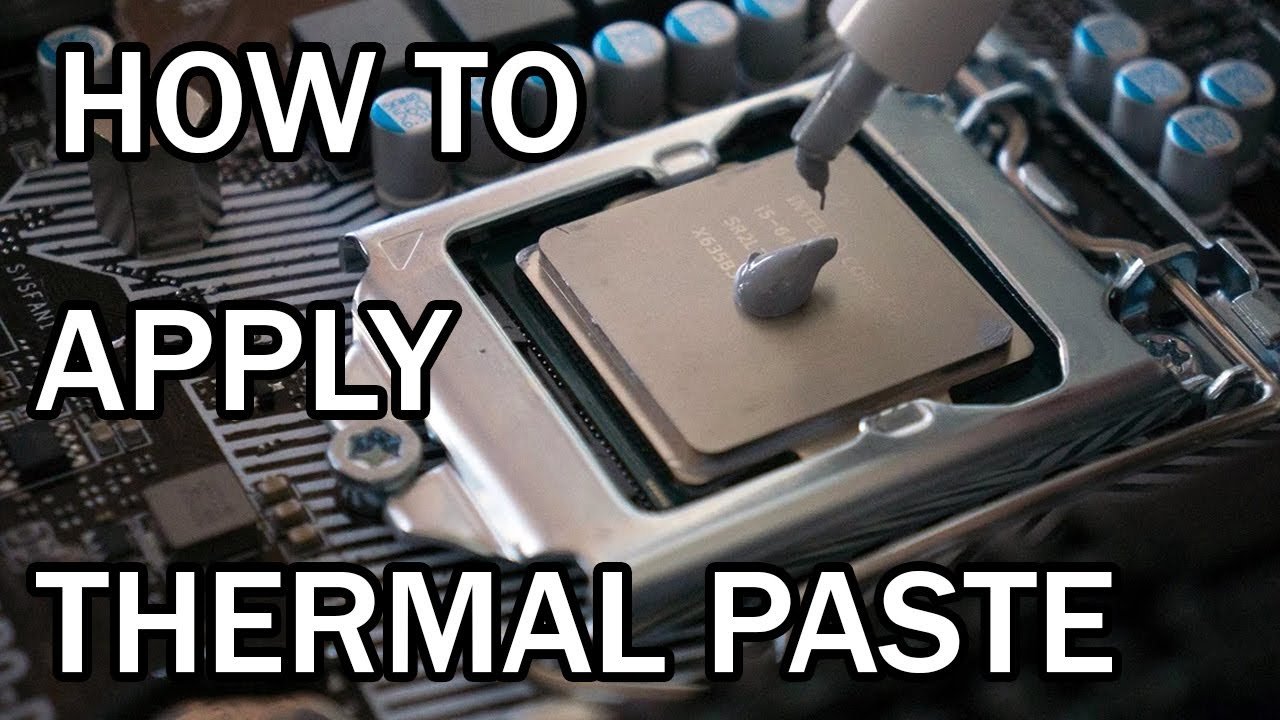
Step 7: Apply New Thermal Paste
Apply a small pea-sized drop in the center.
Important rules:
- Do NOT spread manually (in most modern CPUs)
- Do NOT overapply
💡 Tech Mentor Tip: More paste does NOT mean better cooling—it actually makes it worse.
Step 8: Reinstall Cooling System
Place heatsink back carefully.
Tighten screws in same diagonal pattern.
This ensures:
- Even pressure
- Proper thermal contact
Step 9: Reconnect Battery and Reassemble Laptop
Once everything is secured:
- Reconnect battery
- Close back panel
- Tighten screws properly
Step 10: Test Temperatures
Boot system and check:
- Idle temperature (should drop significantly)
- Load temperature (gaming or stress test)
If done correctly:
➡ You should see 10–20°C improvement
Thermal Paste Application Methods Comparison
| Method | When Used | Efficiency |
|---|---|---|
| Pea-sized drop | Most modern laptops | High |
| Spread method | Older CPUs | Medium |
| Line method | Specific Intel CPUs | Medium |
| Excess paste | Beginners mistake | Poor |
Common Mistakes Beginners Make
- Forgetting battery disconnection
- Using too much thermal paste
- Mixing up screws during reassembly
- Not cleaning old paste properly
- Damaging ribbon cables inside laptop
Here is the truth: most laptop damage happens during disassembly, not repair itself.
BIOS & Software Role in Cooling
After thermal paste replacement:
- BIOS may recalibrate fan curves
- Drivers may adjust thermal profiles
- Windows may re-detect power states
Always check:
- BIOS update status
- Fan behavior
- CPU voltage stability
When Thermal Paste Replacement Won’t Help
Sometimes the issue is deeper:
- Faulty heat pipe
- Dead cooling fan
- Motherboard voltage issue
- GPU hardware degradation
In those cases, paste alone won’t fix overheating.
Real Tech Mentor Insight
Here is what I’ve learned after years of laptop repairs: thermal paste is like engine oil for your CPU. Ignore it long enough, and your system will start “throttling” itself just to survive.
And yes, I’ve seen people type “motherbord” while panicking during overheating issues—don’t let stress lead to mistakes 😄
Preventing Overheating in Future
- Clean fans every 3–6 months
- Use cooling pad for laptops
- Avoid blocking air vents
- Keep BIOS and drivers updated
- Don’t run heavy workloads on soft surfaces (beds, sofas)
Small habits = long laptop life.
Final CTA: Fix your cooling before damage happens
If your laptop is overheating or slowing down, don’t ignore it until it becomes permanent damage.
Now you know the complete step-by-step guide to replacing laptop thermal paste for beginners using safe, professional 2026 techniques.
For more deep repair guides, hardware optimization tips, and DIY troubleshooting tutorials, visit fixrig.xyz—your ultimate destination for hardware enthusiasts and tech fixers.
Got a stubborn overheating issue? Drop your problem in the comments or ask the fixrig.xyz community. Someone there has already fixed the exact same laptop model.
Because in modern laptops, cooling isn’t optional—it’s survival.
Leave a Reply