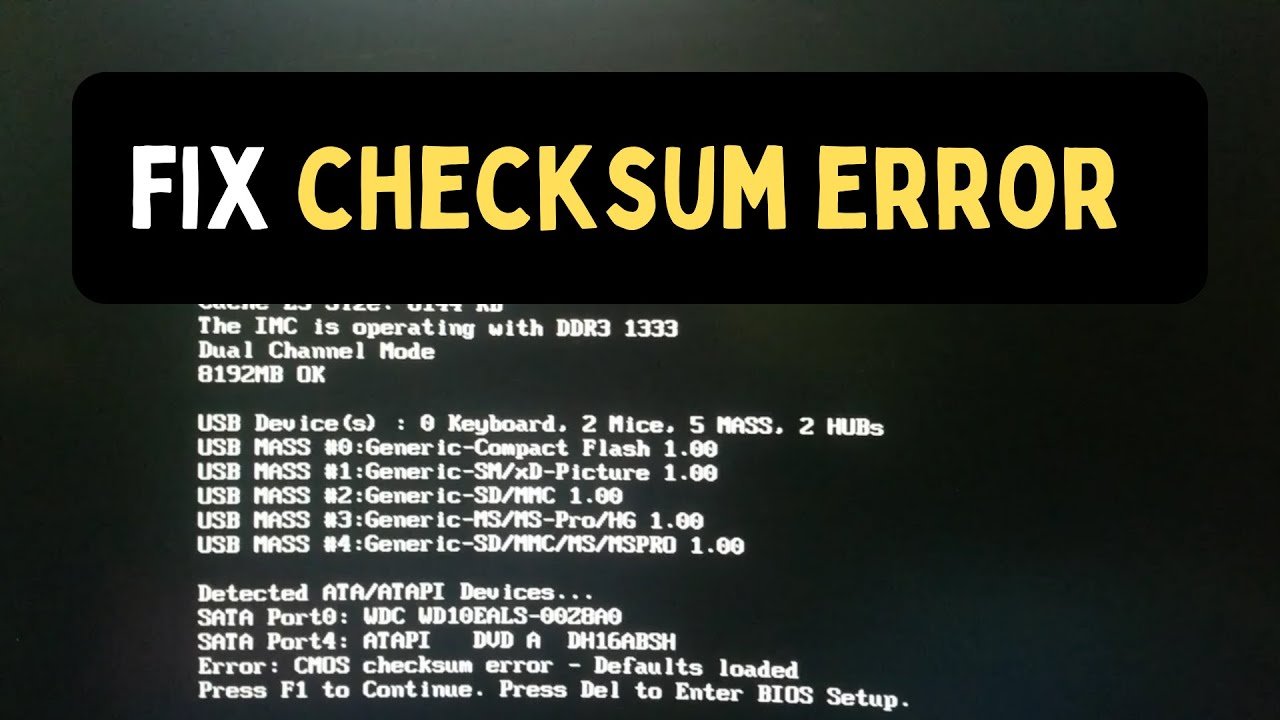
If your PC randomly shuts down, refuses to boot, or behaves like it has a mind of its own, there’s a high chance your Power Supply Unit (PSU) is the problem.
Look, I’ve seen this error a thousand times—and most people completely ignore the PSU. They blame the GPU, RAM, or even the motherbord. But here is the real talk about why your rig is acting up: if the PSU is unstable, nothing in your system can work properly.
In this deep technical guide from fixrig.xyz, I’ll show you exactly how to diagnose a failing Power Supply Unit (PSU) without tools—no multimeter, no tester, just smart troubleshooting.
Why PSU Failure Is So Dangerous
Before we start diagnosing, understand this:
A failing PSU doesn’t just stop working—it damages other components.
- Unstable voltage can kill your GPU
- Power spikes can damage your motherboard
- Sudden shutdowns can corrupt your data
- Low power delivery causes thermal throttling and crashes
That’s why early diagnosis is critical.
Common Symptoms of a Failing PSU
Let’s identify the warning signs first.
Clear PSU Failure Signs
- PC randomly shuts down under load
- System restarts without warning
- Fans spin but no boot (no POST)
- Burning smell from the case
- Buzzing or clicking noise from PSU
- PC only turns on after multiple tries
- USB devices disconnect randomly
If you’re seeing 2–3 of these, your PSU is already in trouble.
Root Causes Behind PSU Failure
Understanding the cause helps you confirm the issue.
1. Aging Components
Capacitors degrade over time, especially in budget PSUs.
2. Overload or Poor Wattage Matching
If your PSU cannot handle your GPU/CPU load, voltage becomes unstable.
3. Heat Damage
Poor airflow leads to overheating, which kills PSU internals.
4. Cheap or Low-Quality PSU
Let’s be honest—cheap PSUs are ticking time bombs.
5. Power Surges
Unstable electricity damages internal circuits over time.
No Tools? No Problem – What You Can Still Do
You don’t need advanced tools to detect PSU issues. You just need observation and logic.
Quick Comparison: PSU Issue vs Other Hardware Problem
| Symptom | PSU Issue Likely | Other Component |
|---|---|---|
| Random shutdown | Yes | Rare |
| No display, fans spin | Possible | GPU/RAM |
| Burning smell | Very likely | Rare |
| PC not powering on | Yes | Motherboard |
| Restart loop | Yes | BIOS/RAM |
This table helps you avoid replacing the wrong part.
Step-by-Step: Diagnose PSU Without Tools
Now let’s get into real troubleshooting.
Step 1: Observe Power Behavior Carefully
Turn on your PC and watch:
- Do fans spin normally or slowly?
- Does system shut off after a few seconds?
- Do lights flicker?
Inconsistent behavior = unstable voltage.
Step 2: Perform the “Power Cycle Test”
- Turn off PC
- Unplug power cable
- Hold power button for 15 seconds
- Plug back and start
If system behaves differently after this, PSU instability is likely.
Step 3: Check for Burning Smell or Heat
This is critical.
- Smell near PSU exhaust
- Check if PSU area is unusually hot
A burning smell is a red flag—stop using the system immediately.
Step 4: Remove GPU Load (Important Test)
High-end GPUs stress the PSU.
- Remove dedicated GPU
- Use integrated graphics (if available)
- Boot system
If system becomes stable, your PSU cannot handle load.
Step 5: Disconnect Non-Essential Components
Run minimal setup:
- CPU
- 1 RAM stick
- No extra drives
- No RGB or accessories
If system stabilizes, PSU is struggling under full load.
Step 6: Listen for Unusual Sounds
A healthy PSU is almost silent.
Warning sounds:
- Buzzing
- Clicking
- High-pitched whining
These indicate internal failure.
Step 7: Boot Behavior Test
Observe startup pattern:
- Does it fail to start sometimes?
- Does it need multiple button presses?
That inconsistency is classic PSU failure behavior.
Step 8: Stress Test Without Software
You don’t need software tools—just use your PC normally.
- Open heavy applications
- Start a game
- Run multiple tasks
If system crashes under load, PSU is the prime suspect.
Step 9: Check Power Cable and Socket
Sometimes it’s not the PSU itself.
- Try a different power cable
- Use a different wall socket
Bad input power mimics PSU failure.
Step 10: The Final Confirmation (Swap Test)
This is the ultimate test.
Borrow a working PSU and connect it.
If your system runs perfectly, your PSU is confirmed faulty.
Why Modern Systems Are More Sensitive (2026 Insight)
Today’s PCs are not forgiving.
- GPUs demand precise voltage stability
- CPUs boost dynamically based on power
- Motherboards monitor power delivery in real time
Even a small PSU issue causes big problems.
That’s why diagnosing early is critical.
Pro Tips from a Hardware Expert
- Always invest in a high-quality PSU (80+ Bronze or higher)
- Never ignore random shutdowns
- Avoid using old PSU with new high-end GPU
- Keep your PSU ventilated
- Use surge protectors
And remember—your PSU is the heart of your system.
Final Thoughts
Diagnosing a failing Power Supply Unit (PSU) without tools is absolutely possible—if you know what to look for.
It’s not about fancy equipment. It’s about understanding behavior.
At fixrig.xyz, we focus on real-world troubleshooting that works—even if you don’t have professional tools.
Because fixing your system should be practical, not complicated.
Call to Action
Now it’s your turn.
Run these tests, observe your system, and take action before it’s too late.
If your still confused or your PC is behaving strangely, drop your issue on fixrig.xyz—we’ll help you diagnose it like a pro.
Leave a Reply